Serves three hungry friends; more if you incorporate sides.
This past weekend, I had nothing to do and my belly was telling me it really wanted perfectly crispy fried chicken. In order for my craving to be satisfied, I needed inspiration. It’s not always necessary to reinvent the wheel, and most of the time that means experimenting, which also means wasting food – and I am not interested in that.
I headed to the mecca of millennial inspiration: YouTube. What I found were various recipes for crispy Korean fried chicken. Even dipped in sauce, I could tell it was still going to punch me in the face! It looked so much like what I wanted and I was so ready to taste this masterpiece.
A few videos were enough for me to get the gist of what I needed for the recipe, but my setback came from not having certain ingredients to really make it Korean fried chicken. So, ya girl decided she did not have time to go back to Grand Marche two times in one week, and so she used what she had instead. I looked at the list of ingredients and substituted the Korean products for some items and made ingredients from scratch with things we locals usually have in our fridge. I made it work with what I had.
What you’ll need
3 bowls or (2 bowls and a plate)
1 mortar and pestle/blender (or a food processor if you’re fancy)
1 sharp knife
1 roll of paper kitchen towels
1 fork
1 deep pan for frying (I used a sauce pot; my frying pan is not deep enough)
Ingredients
Fried chicken:
- 1 box chicken back portions
- White vinegar
- 1/3 cup corn starch
- 1/3 cup all-purpose flour
- ¼ tsp salt (seasoning salt is also acceptable)
- 1 medium egg
- Any vegetable oil*
*This should be measured for the pot you’re using; as long as it’s deep enough to submerge the chicken.
Sweat and Spicy Sauce:
- 1/4 cup seasoning pepper paste
- 2 tbsp Ketchup
- Honey or sugar (to taste)
- 2 tbsp soy sauce
- ¼ tsp red pepper flakes
- 1 tbsp olive oil
- Water
Seasoning Pepper paste:
- 1/4 cup water
- A pinch of salt
- 1 large packet seasoning peppers
- 2 sprigs green onions
- Scotch bonnet peppers (optional; add to taste)
- 1/4 tsp chilli powder
- 1/4 tsp paprika
- ¼ tsp chipotle powder
- ¼ tsp cumin
- 1/2 tbsp onion powder
- 4-5 Garlic cloves (more if you love the taste)
Directions
Before you get started, set everything up. You don’t want to take your hands out of chicken batter to wash them just to reach for an ingredient. Set a plate to collect the fried chicken, place a few paper towels in it to soak up excess grease. Place your oil and frying pan on the stove to be ready for lighting later on.
Even if it is not frozen, please CLEAN YOUR CHICKEN before you start! It may sound weird if you’re using this recipe and don’t know how to cook, but packaged chicken has been sitting in a container for a while and it needs to be cleaned.
The cleaning process:
My chicken was frozen, so I put the pieces in a bowl of GEBE water with a few tablespoons of salt and bit of vinegar. Do this with regular refrigerated chicken as well, just long enough for it to come to room temperature. This will remove the “fresh” smell of the meat. When I say “the chicken smells fresh”, it is not to be confused with “the chicken is fresh.” If a Caribbean person tells you your chicken smells fresh, it means it’s gamy and smells offish. It may not be spoiled, but you might as well never cook for them again.
Have a second bowl waiting for the clean chicken. What you want to do is use the blade of your knife, pressed at an angle against your dominant thumb to pull out any stray pieces of fat, feathers or inedible pieces of cartilage from the surface. For this recipe, I cut the meat off the bone for more bite-sized pieces. By cutting the meat, I created ridges on its surface to make it easy for the batter to coat it.
Done? Make sure to carefully strain the bits of fat before pouring the leftover chicken water down the drain. This would be a good time to clean and disinfect your sink, cleaning the bowl and cooking area. Clean as you go.
Use paper kitchen towels to pat dry any excess water from the chicken; dispose of them. Okay, so here is where I cheat a little. I usually add a little Complete Seasoning and a pinch of salt to all of my savoury food. The Complete Seasoning isn’t listed, because it’s more for my peace of mind, but do sprinkle a bit of salt over the chicken.
The preparation:
Wash your hands thoroughly before this next step. The sauce is the first thing you want to create, because it will need some time to simmer.
The seasoning paste was where I went rogue, since I was making something I’ve never heard of. I dumped an entire pack of seasoning peppers into my blender, added water, some sprigs of green onion and garlic and blended it until the seeds were dissolved. Half of the seasoning blend was put away and the other half is what I used for the recipe. Then adding the seasoning listed in the ingredients, I blended until smooth. It’s not an exact science because, again, it’s just a paste to be used as an additive, so go with what smells right.
The sauce was simple enough. I started with the paste and added everything to my taste. I couldn’t make it super spicy, as there is a tiny person who dips her hands and steals my food, so…safety – and I wanted more sweetness. I simmered the sauce until everything looked like it was incorporated.
The execution:
A majority of the time taken up in this recipe was to prepare the ingredients for assembly.
Before you start to mix your chicken, put the oil on the fire on a low to medium heat. Then slowly increase the heat every minute. I used a tiny grain of the dusted chicken to test when the oil was hot enough.
Putting everything together was as simple as dumping the dry ingredients over the chicken in a bowl, adding the egg and mixing it all with my hands. For hygiene purposes, if you’re serving this at a function like a potluck, please use gloves. It goes: chicken, egg; mix. Egg coated chicken, dry ingredients; mix. When it came to the flour and corn starch, I got the measurements for a lot more meat, so don’t dump it all in; there might be too much. Sometimes, you may want the chicken to have more of a wet batter, other times, you want it drier; that just means you can add a bit more flour to the chicken.
The chicken should go in when the oil is very hot. Be careful not to drop the pieces too far above the oil and splatter. Fry your chicken pieces in batches and let them come to a medium brown colour, we’re not looking for perfect yet. Set all of the fried chicken on your towel-lined plate. Repeat the frying process by putting them back into the oil and double frying them to add an extra crisp. Think tan versus golden brown.
The outcome:
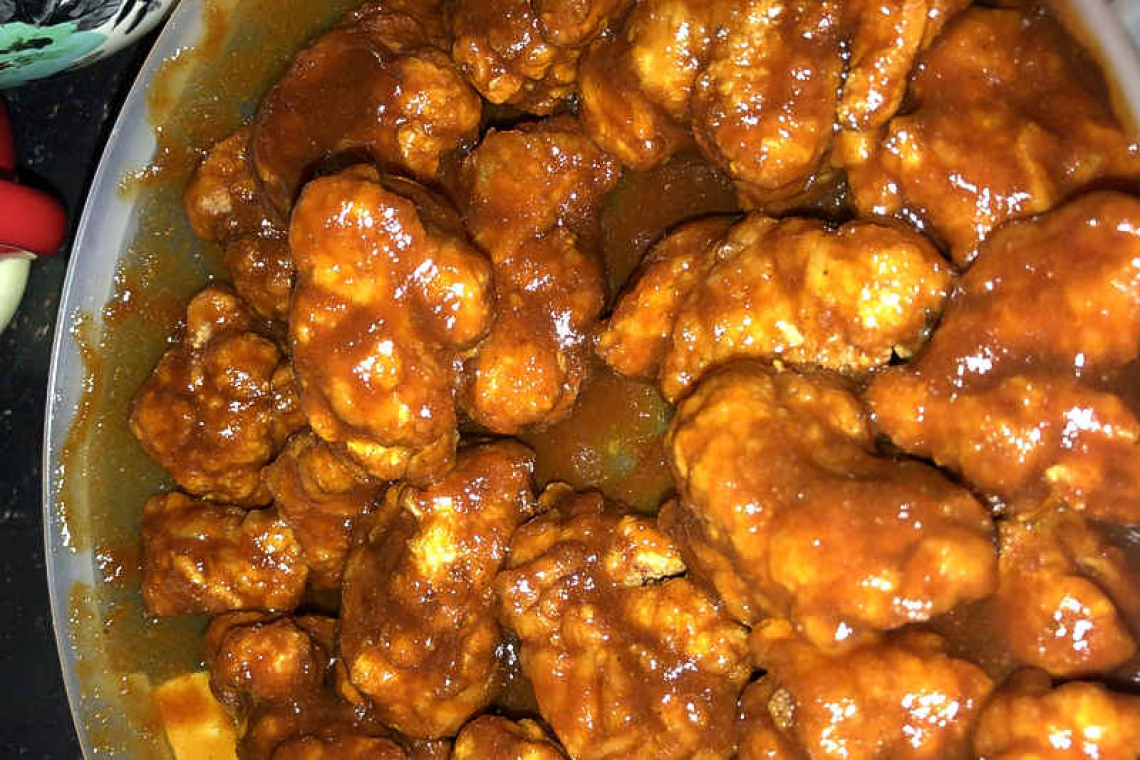
I only fried my chicken portions twice, then poured the sauce over it and tossed them around. It wasn’t the KFC, Korean Fried Chicken style that I wanted, but it was the crispy, battered chicken that I needed. And the process was fun. I enjoyed it.
Go ahead and try this recipe yourself and tell me what you think! I’m eager to know if it translates as deliciously for you!